Steps In Cleaning Your Keurig Coffee Maker

Like all machines that we use in our daily lives, coffee makers also need to be cleaned and maintained on a regular basis to keep them working properly. If you have a Keurig coffee maker, then you know that it is one of the most convenient ways to make coffee. But even Keurigs need to be cleaned every now and then in order to work properly and make great-tasting coffee. In this article, we will show you the steps that you need to take in order to clean your Keurig coffee maker.

The Basic Steps of Cleaning a Keurig Coffee Maker

Your Keurig coffee maker is an appliance that you use every day, so it is important to keep it clean. cleaned keurig coffee maker will last longer and make better-tasting coffee. There are a few basic steps that you should follow when cleaning your Keurig coffee maker.

Unplug The Coffee Maker and Empty The Water Reservoir

Unplug the coffee maker and remove the water reservoir. Pour out any water that is left in the reservoir. Rinse the reservoir with clean water and set it aside.

Clean The Exterior of The Coffee Maker

Start by unplugging your coffee maker and removing any removable parts. This usually includes the water reservoir, K-cup holder, and drip tray. These parts can all be washed in hot, soapy water. If your coffee maker has a Descaling light, descale it at this time.

Next, wipe down the exterior of the machine with a damp cloth. Be sure to clean any areas with coffee build-up, such as the control panel or brew head. You can use a toothbrush to get into small spaces and remove any stubborn residue.

Finally, dry all the parts with a clean towel and reassemble your coffee maker.

Clean The Brew Chamber and Brew Basket

To clean the brew chamber and brew basket, remove them from the Keurig and rinse them under running water. If there is built-up coffee residue, use a mild soap or detergent and a soft cloth to wipedown these parts. Be sure to rinse away all soap residue before reassembling and using your coffee maker.

Descale The Coffee Maker

Descaling is NECESSARY to maintain your coffee maker and get the best-tasting coffee. Over time, minerals from water build up in the tank, boiler, and tubes of your machine, which can lead to a less efficient machine and poor-tasting coffee. descaling removes these mineral deposits, so that your coffee maker can run at peak efficiency and performance.

Maintaining Your Keurig Coffee Maker

It is important to keep your Keurig coffee maker clean, so that you can enjoy the best tasting coffee every time. Here are some simple steps that you can follow to clean your coffee maker.

Use Filtered Water

It’s important to use filtered water in your Keurig coffee maker. This will help remove impurities that can affect the flavor of your coffee, and it will also help extend the life of your machine. You can use a pitcher-style filter or install a filter directly on your water line.

Clean The Coffee Maker Regularly

It’s important to keep your Keurig coffee maker clean, so that your coffee tastes great and your machine lasts a long time. Luckily, cleaning a Keurig is pretty easy — and only takes a few minutes.

Here are simple instructions for how to clean a Keurig coffee maker:

1. Unplug the coffee maker and empty the water reservoir.

2. Remove the K-cup holder and tray (if present).

3. Clean the K-cup holder and tray with warm, soapy water or a mild disinfectant wipes. Rinse well and dry thoroughly before replacing.

4. Use a needle or other sharp object to clear any build-up of coffee grounds from the exit needle on the bottom of the K-cup holder (this is where the brewed coffee comes out). Be careful not to damage the needle.

5. Descale your Keurig coffee maker every 3-6 months, or as needed (see below for instructions).

6.Every few months, it’s also a good idea to clean your water reservoir with white vinegar or lemon juice to get rid of any build-up of minerals from your tap water. Just add equal parts vinegar or lemon juice to water and run it through a brewing cycle without a K-cup in place (throw away this brew). Then rinse the reservoir well with fresh water before using again.

Store The Coffee Maker Properly

When you’re not using your Keurig coffee maker, be sure to unplug it and store it in a safe, dry place. If you’re going to be gone for an extended period of time, you may want to consider removing the water reservoir and storing it separately. This will help prevent mold and bacteria from growing inside the coffee maker.

How to Work a Keurig Coffee Maker

Welcome to the exciting world of Keurig single serve coffee makers! Whether you’re new to Keurig or a longtime fan, we’re glad you’re here. We hope you find this guide helpful as you start your journey with your new coffee maker.

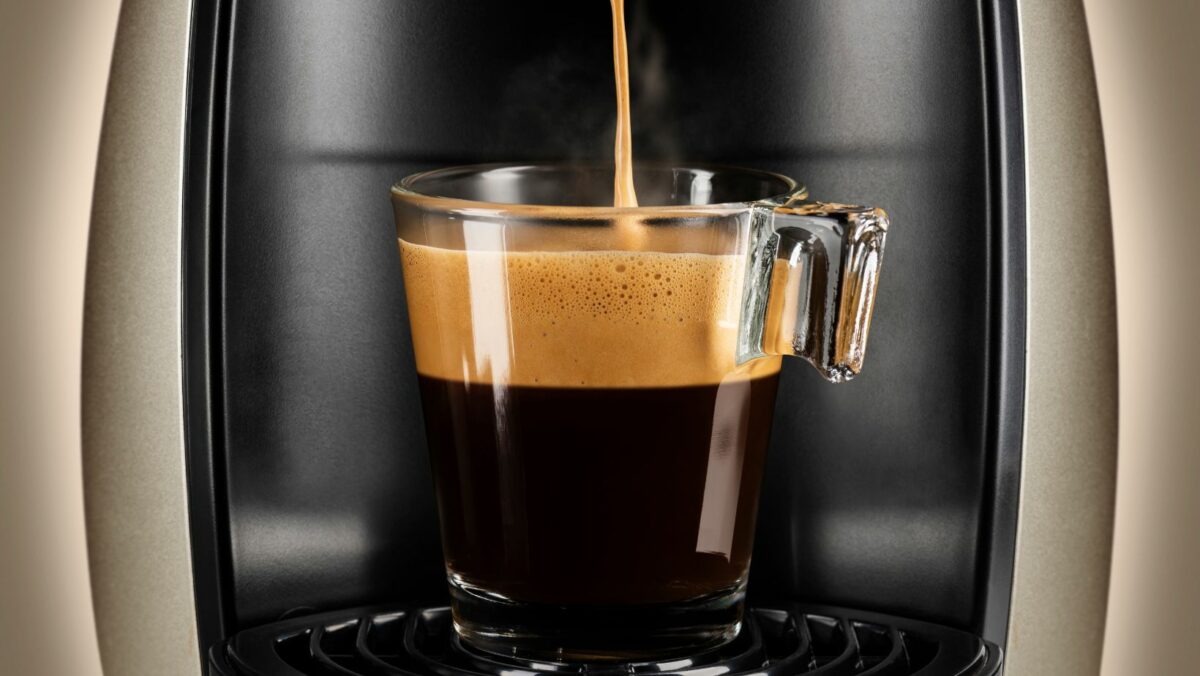
Brewing with a Keurig coffee maker is easy: simply choose your favorite K-Cup pod, pop it into your coffee maker, and press the brew button. In less than a minute, you’ll enjoy a fresh-brewed, perfect cup of coffee.

It’s really that simple. But we know that some of you may want a little more information about how your Keurig works before you get started. So sit back, relax, and let us walk you through everything you need to know about brewing with your Keurig coffee maker.

How to Use a Keurig Coffee Maker

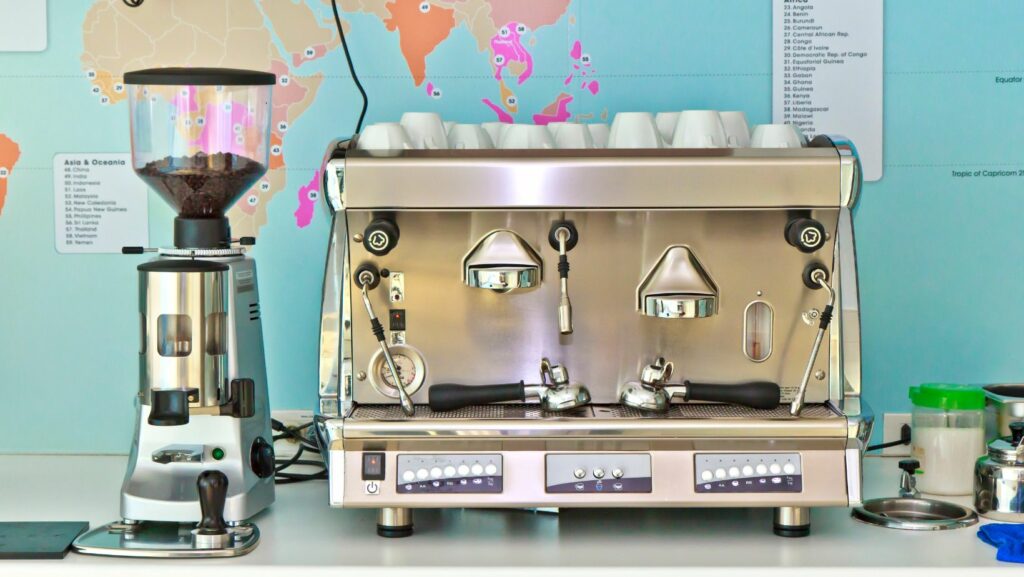
Knowing how to use a Keurig coffee maker is essential for anyone who loves coffee. The Keurig coffee maker is a single serve coffee machine that brews coffee one cup at a time. It’s fast and convenient, and it produces a great cup of coffee. In this article, we’ll show you how to use a Keurig coffee maker, step-by-step.

Step One: Choose Your Coffee

One of the great things about Keurig coffee makers is that they give you the ability to brew single cups of coffee. This means that you can choose your favorite flavor of coffee, without having to commit to a whole pot. Keurig machines take special K-Cups, which are filled with coffee grounds. You can find K-Cups in a variety of flavors, from major brands like Starbucks, Green Mountain and Folgers, as well as many lesser known brands. In addition to coffee, you can also find K-Cups filled with tea, hot chocolate and other beverages.

Step Two: Insert the Coffee Pod

Now that the water is heated and ready, it’s time to add the coffee pod. Make sure that you insert the pod with the printed side up and facing towards you. If the pod is inserted correctly, you should hear it click into place.

Step Three: Select Your Cup Size

Now that your machine is warmed up and ready to go, it’s time to select your cup size. Keurig machines typically have three to five different cup size options, so choose the amount of coffee you want to brew accordingly. Keep in mind that the larger the cup size, the more coffee grounds will be used.

Once you’ve selected your desired cup size, place a coffee mug on the small drip tray located directly beneath the dispenser. If your Keurig has a removable drip tray, make sure it is in place before proceeding.

Step Four: Brew Your Coffee

Now that your water is at the correct temperature, it’s time to brew your coffee. To do this, simply lift up the handle on the top of the machine and insert your coffee pod. Make sure that the pod is placed in the center of the Keurig so that it punctures evenly. Then, close the handle and let the machine do its thing. In about a minute, you’ll have a freshly brewed cup of coffee!

The Durability of Sony Bluetooth Headphones

Welcome to my blog! Today, I’m going to be discussing the durability of Sony Bluetooth headphones. I’ll be giving a brief overview of how to connect Sony Bluetooth headphones, as well as some tips and tricks on how to keep them lasting as long as possible. 

How to Connect Sony Bluetooth Headphones

First, turn on the Bluetooth feature on your Sony device. For Android users, go to Settings > More > Bluetooth, and turn Bluetooth On. For iOS users (iPhone/iPad), go to Settings > Bluetooth, and turn Bluetooth On.

Next, open the Sony Headphones Connect App. If you do not have this app installed on your device, you can download it for free from the Google Play Store or the Apple App Store.

Once the app is open, select “Add headphones” from the main menu. Then, put your headphones into pairing mode by holding down the POWER button for about 7 seconds until the JBL logo and “Connect+” flash alternately.

Your headphones should now appear in the list of available devices on your Sony device. Select them to connect, and you should be ready to go!

The Durability of Sony Bluetooth Headphones

The headphones are made with a tough and durable plastic that can withstand some serious abuse. The ear cups are comfortable and fit snugly around the ears, and the headband is adjustable to ensure a comfortable fit. The headphones are also sweat-resistant, making them ideal for use during workouts.

The Features of Sony Bluetooth Headphones

Sony bluetooth headphones are a great choice for those who are looking for a durable, reliable pair of headphones. They are also a great choice for those who are looking for a pair of headphones that will provide them with superior sound quality. In addition to these two features, Sony bluetooth headphones also have a number of other features that make them an appealing choice for many consumers.

The Advantages of Sony Bluetooth Headphones

With a solid reputation in both the sound quality department and the durability department, sony bluetooth headphones have a lot to offer consumers. One of the main advantages of sony bluetooth headphones is that they are built to last. Whether you are a casual listener or a true audiophile, you can rest assured knowing that your sony bluetooth headphones will be able to stand up to the wear and tear of regular use. In addition to being durable, sony bluetooth headphones are also known for their exceptional sound quality. If you are looking for a pair of headphones that will be able to provide you with clear, crisp sound, then sony bluetooth headphones are definitely worth considering.

The Disadvantages of Sony Bluetooth Headphones

While Sony headphones are some of the most popular on the market, there are a few disadvantages that come with them. One of the biggest complaints is that they are not very durable. Many people have said that the plastic housing around the earpieces cracks and breaks easily, and that the wire connecting the two earpieces is also prone to breaking. Sony does have a warranty for their headphones, but it only covers manufacturing defects, not damage caused by normal wear and tear.

Another downside to Sony headphones is that they can be a bit uncomfortable to wear for long periods of time. The plastic housing can put pressure on your ears, and the wires can get tangled up in your hair. If you’re looking for headphones to wear while working out or doing other activities where you might sweat, you might want to consider another brand.

Finally, Sony headphones are not cheap. If you’re looking for a budget-friendly option, there are better choices out there.

How to Use Sony Bluetooth Headphones

  1. Open the battery compartment of the headphones, remove the batteries, then wait for 30 seconds before replacing them.
  2. Turn on your Bluetooth enabled device (smartphone, tablet, etc.).
  3. Open the settings menu on your device, and select “Bluetooth.” If you don’t see “Bluetooth” listed as an option, it may be hidden under “More Settings,” “Connections,” or a similar heading.
  4. Select “Search for Devices.” Your device will begin scanning for nearby Bluetooth devices.
  5. When the headphones appear in the list of available devices, select them to connect.
  6. Enter the four-digit code that appears on your headphones when prompted by your device (If no code appears on your headphones, try 0000 or 1234).
  7. Once connected, you should hear a voice prompt say “Bluetooth connected.”

How to Care for Sony Bluetooth Headphones

To ensure peak performance of your Sony headphones and extend their lifespan, proper care and maintenance is essential. Caring for your Bluetooth headphones is not difficult, but there are a few things you can do to keep them in excellent condition.

First, avoid exposure to excessive heat or cold. Extreme temperatures can damage the internal components of your headphones and shorten their lifespan. If you are not using your headphones, store them in a cool, dry place.

Second, do not expose your headphones to water or other liquids. Water can damage the electronic components of your headphones and cause them to malfunction. If your headphones do get wet, immediately remove the batteries and allow them to dry completely before using them again.

Third, keep your headphones clean by dusting them with a soft, dry cloth. Do not use harsh chemicals or abrasive materials to clean your headphones as this can damage the housing or inner components. If your headphones are very dirty, you can use a mild soap and water solution to clean them. Be sure to rinse the soap off completely and dry the headphones thoroughly before using them again.

By following these simple tips, you can keep your Sony Bluetooth headphones in excellent condition for many years to come.

The Different Types of Cuisinart Coffee Makers

Different types of Cuisinart coffee makers require different cleaning methods. Here’s a guide to keeping your coffee maker clean and functioning properly.

The Different Types of Cuisinart Coffee Makers

Cuisinart is a leading name in coffee makers, and they offer a wide range of machines to suit different needs and preferences. From simple drip coffee makers to sophisticated espresso machines, Cuisinart has something for everyone.

Drip coffee makers are the most popular type of coffee maker, and they come in a range of sizes and styles. Cuisinart offers both traditional drip coffee makers and single serve machines. Traditional drip coffee makers can make up to 12 cups of coffee at a time, making them ideal for large families or entertaining guests. Single serve machines are perfect for busy people who want to enjoy a freshly brewed cup of coffee without having to make a whole pot.

If you’re looking for an upgrade from your standard drip coffee maker, Cuisinart also offers several models of programmable coffeemakers. These coffeemakers allow you to set a timer so your coffee is ready when you wake up in the morning, and they also have features like pause and serve, so you can pour yourself a cup before the brewing cycle is complete.

For those who prefer espresso or cappuccino, Cuisinart offers a variety of espresso machines. These machines use pressure to brew rich, flavorful espresso, and they come with all the accessories you need to make perfect drinks every time. From frothing pitchers to tamper tools, Cuisinart has everything you need to enjoy cafe-quality drinks at home.

How to Clean Cuisinart Coffee Maker

Cleaning your coffee maker is important for keeping it in good working condition. It also helps to remove any build-up of coffee oils or grounds that can affect the taste of your coffee. Cuisinart coffee makers have a self-cleaning feature that cleans the coffee maker with a vinegar and water solution. For best results, clean your coffee maker at least once a month.

To clean your Cuisinart coffee maker, first remove the carafe and filter basket. Place a cup of vinegar and a cup of water in the coffee maker’s reservoir. Run the self-cleaning cycle and then run two or three cycles with just fresh water to remove any residual vinegar taste. Wash the carafe and filter basket in hot, soapy water and rinse well.

The Most Popular Cuisinart Coffee Maker for Your Home

Different coffee drinkers have different needs, and there is no single coffee maker that is right for everyone. Cuisinart makes a wide range of coffee makers, from single-serve models to large multi-cup machines, and each has its own unique features. Which one is right for you?

Here are some things to consider when choosing a Cuisinart coffee maker:

How many cups of coffee do you drink in a day? If you’re a heavy coffee drinker, you’ll want a machine that can make multiple cups at once. The Cuisinart DCC-3200P1 Perfectemp Coffee Maker is a good option, as it can brew up to 14 cups of coffee at a time. If you only drink one or two cups per day, a single-serve model like the Cuisinart SS-10 Premium Single Serve Coffeemaker might be a better choice.

  • Do you like your coffee strong or weak? If you prefer strong coffee, look for a machine with an adjustable brew strength setting. The Cuisinart DCC-2650 Extreme Brew Coffee Maker has this feature, allowing you to choose between regular and bold strength brewing. 
  • Do you want hot coffee or iced coffee? The Cuisinart CHW-12 Coffee Plus 12 Cup Programmable Coffeemaker with Hot Water System comes with an hot water tank that lets you make tea and other hot beverages as well as coffee. For iced drinks, try the Cuisinart ICE-100 Compressor Ice Cream and Gelato Maker. It can make both regular and espresso coffees, as well as frappes, smoothies, and milkshakes.

No matter what your needs are, there’s a Cuisinart coffee maker that’s perfect for you.

The Different Types of Coffee Made with a Cuisinart Coffee Maker

Brewery-fresh flavor is just a button away with a Cuisinart coffee maker. And with so many different types of Cuisinart coffee makers to choose from, you’re sure to find one that fits your needs perfectly. From single-serve machines to 12-cup carafes, there’s a Cuisinart coffee maker for every type of coffee drinker.

Single Serve Machines

If you like your coffee strong and flavorful, but don’t need a whole pot, consider a single serve machine. These compact brewers make one perfectly proportioned cup at a time, using either ground coffee or pre-packaged pods. Single serve machines are ideal for small spaces, or if you want the convenience of being able to brew just one cup at a time.

Pour Over Machines

Pour over machines are similar to single serve brewers, but they give you more control over the brewing process. With a pour over machine, you’ll place your grounds in a filter and then slowly pour hot water over them, extract the perfect amount of flavor from your beans. Pour over machines typically make smaller cups of coffee than other types of brewers, so they’re perfect for people who want to savor every drop.

Drip Coffee Machines

Drip coffee makers are the most common type of brewer and they come in both automatic and manual varieties. With an automatic drip machine, you simply add water and grounds to the reservoir and let the machine do the work for you. If you prefer a more hands-on approach, try a manual drip brewer – this type of machine gives you more control over the brewing process so you can experiment with different brewing times and temperatures until you find your perfect cup.

How to Make the Perfect Cup of Coffee with a Cuisinart Coffee Maker

Making the perfect cup of coffee is all about finding the right balance of coffee to water. Too much coffee and your drink will be too strong; too little and it will be weak. The perfect cup of coffee should be strong but not bitter, and rich but not overly acidic.

There are a few different ways to make coffee with a Cuisinart coffee maker, but we’ll focus on two of the most popular methods: using the single-serve setting or the full-pot setting.

Single-Serve Setting

If you’re using the single-serve setting on your Cuisinart coffee maker, you’ll want to use one Cuisinart single serve pod per 6 ounces of water. For a stronger cup of coffee, you can use two pods per 6 ounces of water. Once you have your desired amount of water in the reservoir, insert the desired number of pods into the machine and close the lid. Press the “on” button and wait for the machine to brew your coffee. Depending on your preference, you can choose to Brew Now or Brew Later.

Full-Pot Setting

If you want to make a full pot of coffee with your Cuisinart coffee maker, start by adding cold water to the reservoir. The amount of water you need will depend on how many cups of coffee you want to make. For example, if you want to make 4 cups of coffee, you would add 2 cups of water (4 x 6 ounces = 24 ounces). Once you have your desired amount of water in the reservoir, add ground Coffee beans to the filter basket. The amount of beans you need will also depend on how many cups of coffee you want to make; for 4 cups, we recommend using 1/2 cup (4 tablespoons)of beans. Once you’ve added your beans, close the lid and press the “on” button. Wait for the machine to brew your coffee and then enjoy!

The Benefits of Owning a Cuisinart Coffee Maker

Cuisinart is a brand of small kitchen appliances that has been around since 1971. The company is known for quality, durability, and innovation, and their coffee makers are no exception. Cuisinart coffee makers come in a variety of styles and sizes to suit any kitchen, and they offer a number of features that make brewing coffee easier and more convenient than ever.

One of the great things about Cuisinart coffee makers is that they come with a built-in water filter. This means that you can be sure your coffee will taste great, no matter what kind of water you use. The filters also help to extend the life of your coffee maker by keeping mineral deposits and other impurities out of the machines.

Cuisinart coffee makers also feature an automatic shut-off function, which means you never have to worry about forgetting to turn off your coffee maker. And if you’re worried about energy consumption, there are many models available with energy-saving settings.

Finally, Cuisinart coffee makers are very easy to clean. Many models come with dishwasher-safe parts, and the company even offers a descaling solution specifically designed for their machines. So whether you’re looking for a simple drip coffee maker or a sophisticated espresso machine, Cuisinart has a model that will suit your needs.

The Right Way to Store Your Cuisinart Coffee Maker

When not in use, it is important to properly store your Cuisinart coffee maker to keep it clean and free of any potential hazards. It is recommended that you clean your coffee maker before storing it. If you need to store your coffee maker for an extended period of time, it is best to do so in a cool, dry place. Below are some tips on the best way to store your Cuisinart coffee maker.

  • Clean the coffee maker thoroughly before storing. 
  • Store the coffee maker in a cool, dry place. 
  • Do not store the coffee maker near any heat sources. 
  • If storing the coffee maker for an extended period of time, it is best to wrap it in a plastic bag or cover to protect it from dust and other potential hazards.

Tips and Tricks for Using a Cuisinart Coffee Maker

Here are some tips and tricks for using your Cuisinart coffee maker:

  • Always use fresh, cold water for brewing.
  • Preheat the carafe by filling it with hot water from the tap. This will help keep your coffee hot after it has been brewed. 
  • When measuring coffee, use one level of scoop (about 2 tablespoons) for each 6 ounces of water. 
  • To clean your coffee maker, run a cycle of plain water through it (without coffee). You can also descale it periodically by running a solution of equal parts water and vinegar through the machine.

Order Before Midnight for Next Day Delivery!

If you’re looking for a new way to spice up your life, why not try elk blood on your Bluetooth? That’s right, elk blood is the latest trend in body modification, and it’s sure to give you a unique look that will turn heads. Elk blood is known for its rich, red color, and when applied to your Bluetooth device, it will give it a vibrant, one-of-a-kind look. The best part about this trend is that it’s relatively painless and easy to remove if you decide you don’t like it.

What is Elk Bledom on My Bluetooth

Device that is not only stylish but also unique. This new trend is quickly gaining popularity and is sure to be a hit with anyone who wants to stand out from the crowd. So, if you’re looking for a way to add some personality to your Bluetooth device, elk blood is the way to go.

The Blood Helps Reduce Interference and Increase The Signal Strength

It also makes it look more attractive and gives it a vibrant, one-of-a-kind look. If you’re interested in trying this new trend, there are a few things you should know before you get started. First, elk blood can be tricky to find. You may have to hunt around for a reputable supplier who can provide you with the quality product you need. Second, elk blood is a bit of a messy process, so be prepared for some cleanup afterwards. Third, and most importantly, elk blood is not for everyone. If you have any doubts about whether or not this trend is right for you, it’s best to consult with a professional piercer or tattoo artist before proceeding. They’ll be able to give you all the information you need to make an informed decision. So, if you’re looking for a new way to add some personality to your Bluetooth device, elk blood is the way to go. With its rich, red color and unique look, it’s sure to turn heads and give you a one-of-a-kind look that will set you apart from the crowd. Just be prepared for a bit of a messy process, and make sure you’re getting your elk blood from a reputable supplier. Other than that, enjoy your new, unique Bluetooth device!

The Technology has Been in Development for a Few Years, but is Just Now Hitting The Market

It is still a new trend, so there are not many places to get it done. There are some things to know before getting elk blood on your Bluetooth device. 1. Elk blood can be tricky to find 2. It is a bit of a messy process 3. It is not for everyone 4. Consult with a professional before getting elk blood on your Bluetooth device 5. Enjoy your new, unique Bluetooth device!

It’s Still Unclear how Well it Will Work or How Long it Will Last

The long-term effects are unknown. There is a small risk of infection. You should be aware of these risks before getting elk blood on your Bluetooth device. 1. The long-term effects are unknown 2. There is a small risk of infection 3. You should be aware of these risks before getting elk blood on your Bluetooth device. Elk blood is a new trend in body modification, and it’s sure to give you a unique look that will turn heads. Elk blood is known for its rich, red color, and when applied to your Bluetooth device, it will give it a vibrant, one-of-a-kind look. The best part about this trend is that it’s relatively painless and easy to remove if you decide you don’t like it. Just be aware of the risks before getting elk blood on your Bluetooth device, and enjoy your new, unique look!